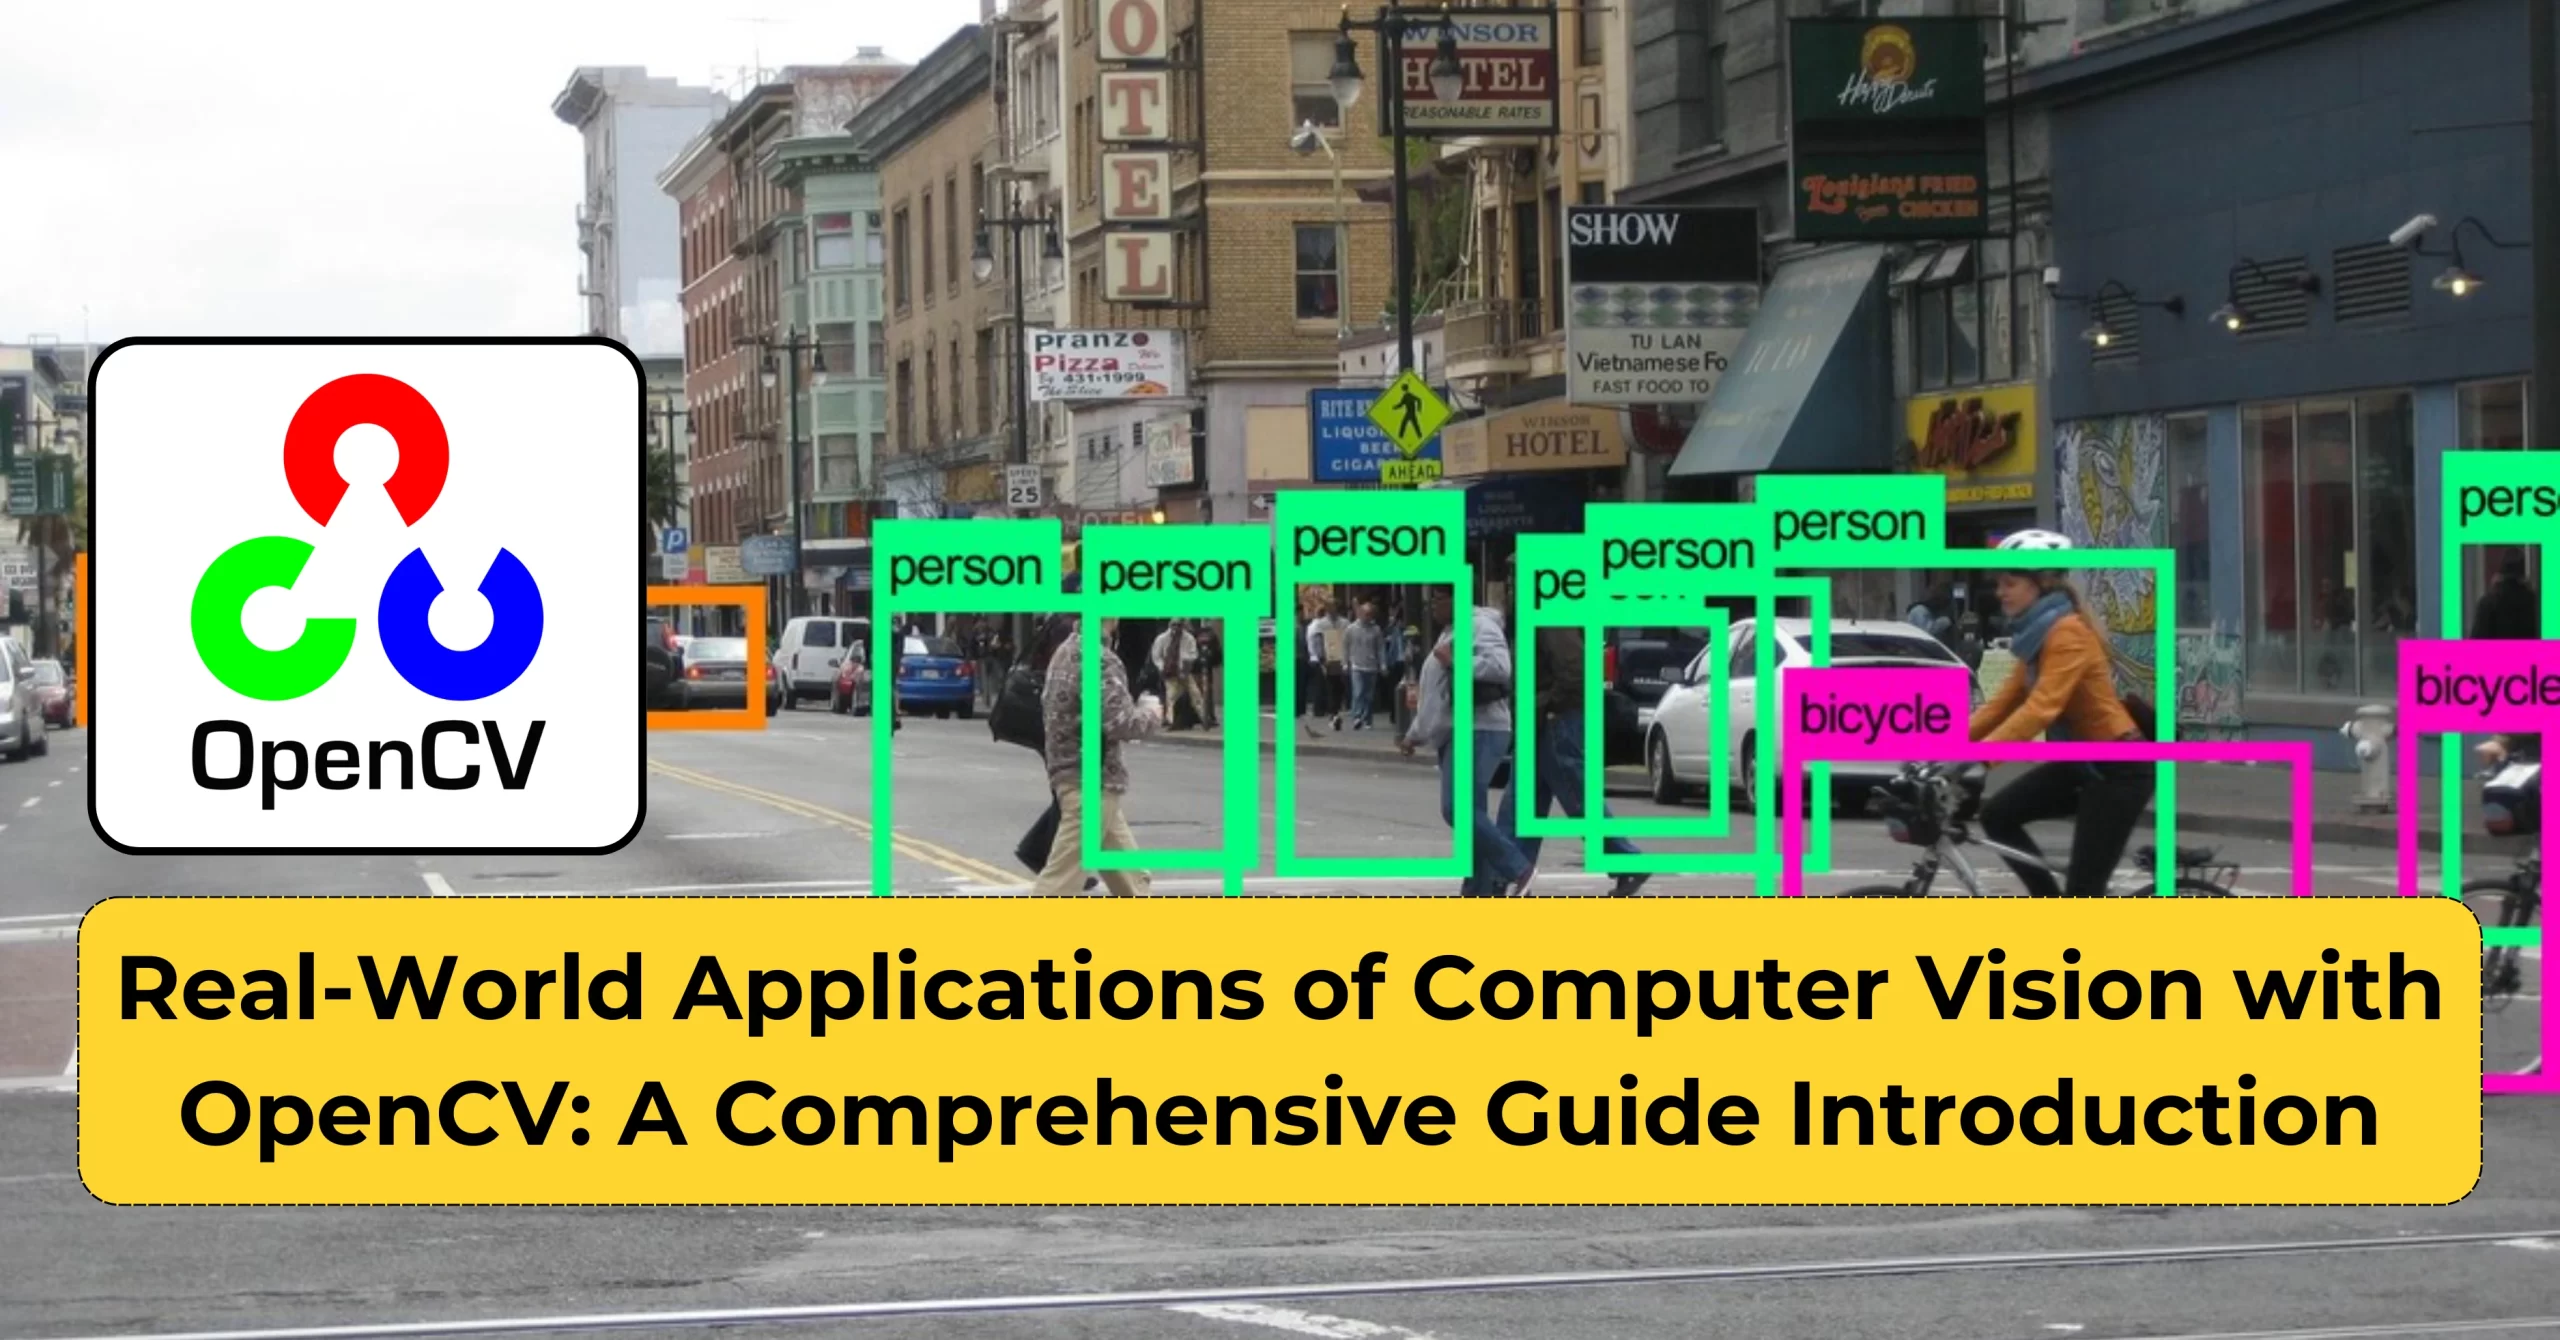
Imagine a world where a simple camera can not only capture moments but analyze, understand, and make decisions based on what it sees. This is precisely what Computer Vision does!
Computer Vision, a field of Artificial Intelligence that enables computers to interpret and make decisions based on Visual Data, much like the human eye. From recognizing faces in photos to analyzing objects in videos, Computer Vision uses complex algorithms to see and understand images. OpenCV (Open Source Computer Vision Library) is a popular open-source tool in this field, offering a wide range of functions to process and analyze Visual Data. Whether it’s detecting patterns, shapes, or even movements, OpenCV simplifies tasks for developers to create powerful applications in areas like healthcare, automotive, and entertainment.
Computer vision has become an integral part of modern technology, powering everything from autonomous vehicles to medical diagnostics. OpenCV (Open Source Computer Vision Library) stands at the forefront of this revolution, providing developers with powerful tools to implement vision-based solutions. This comprehensive guide explores real-world applications, implementation details, and insights from industry experts.

Part 1: Real-World Applications
1. Healthcare and Medical Imaging
Medical Diagnostics
- X-ray and MRI image analysis
- Cancer cell detection
- Retinal disease identification
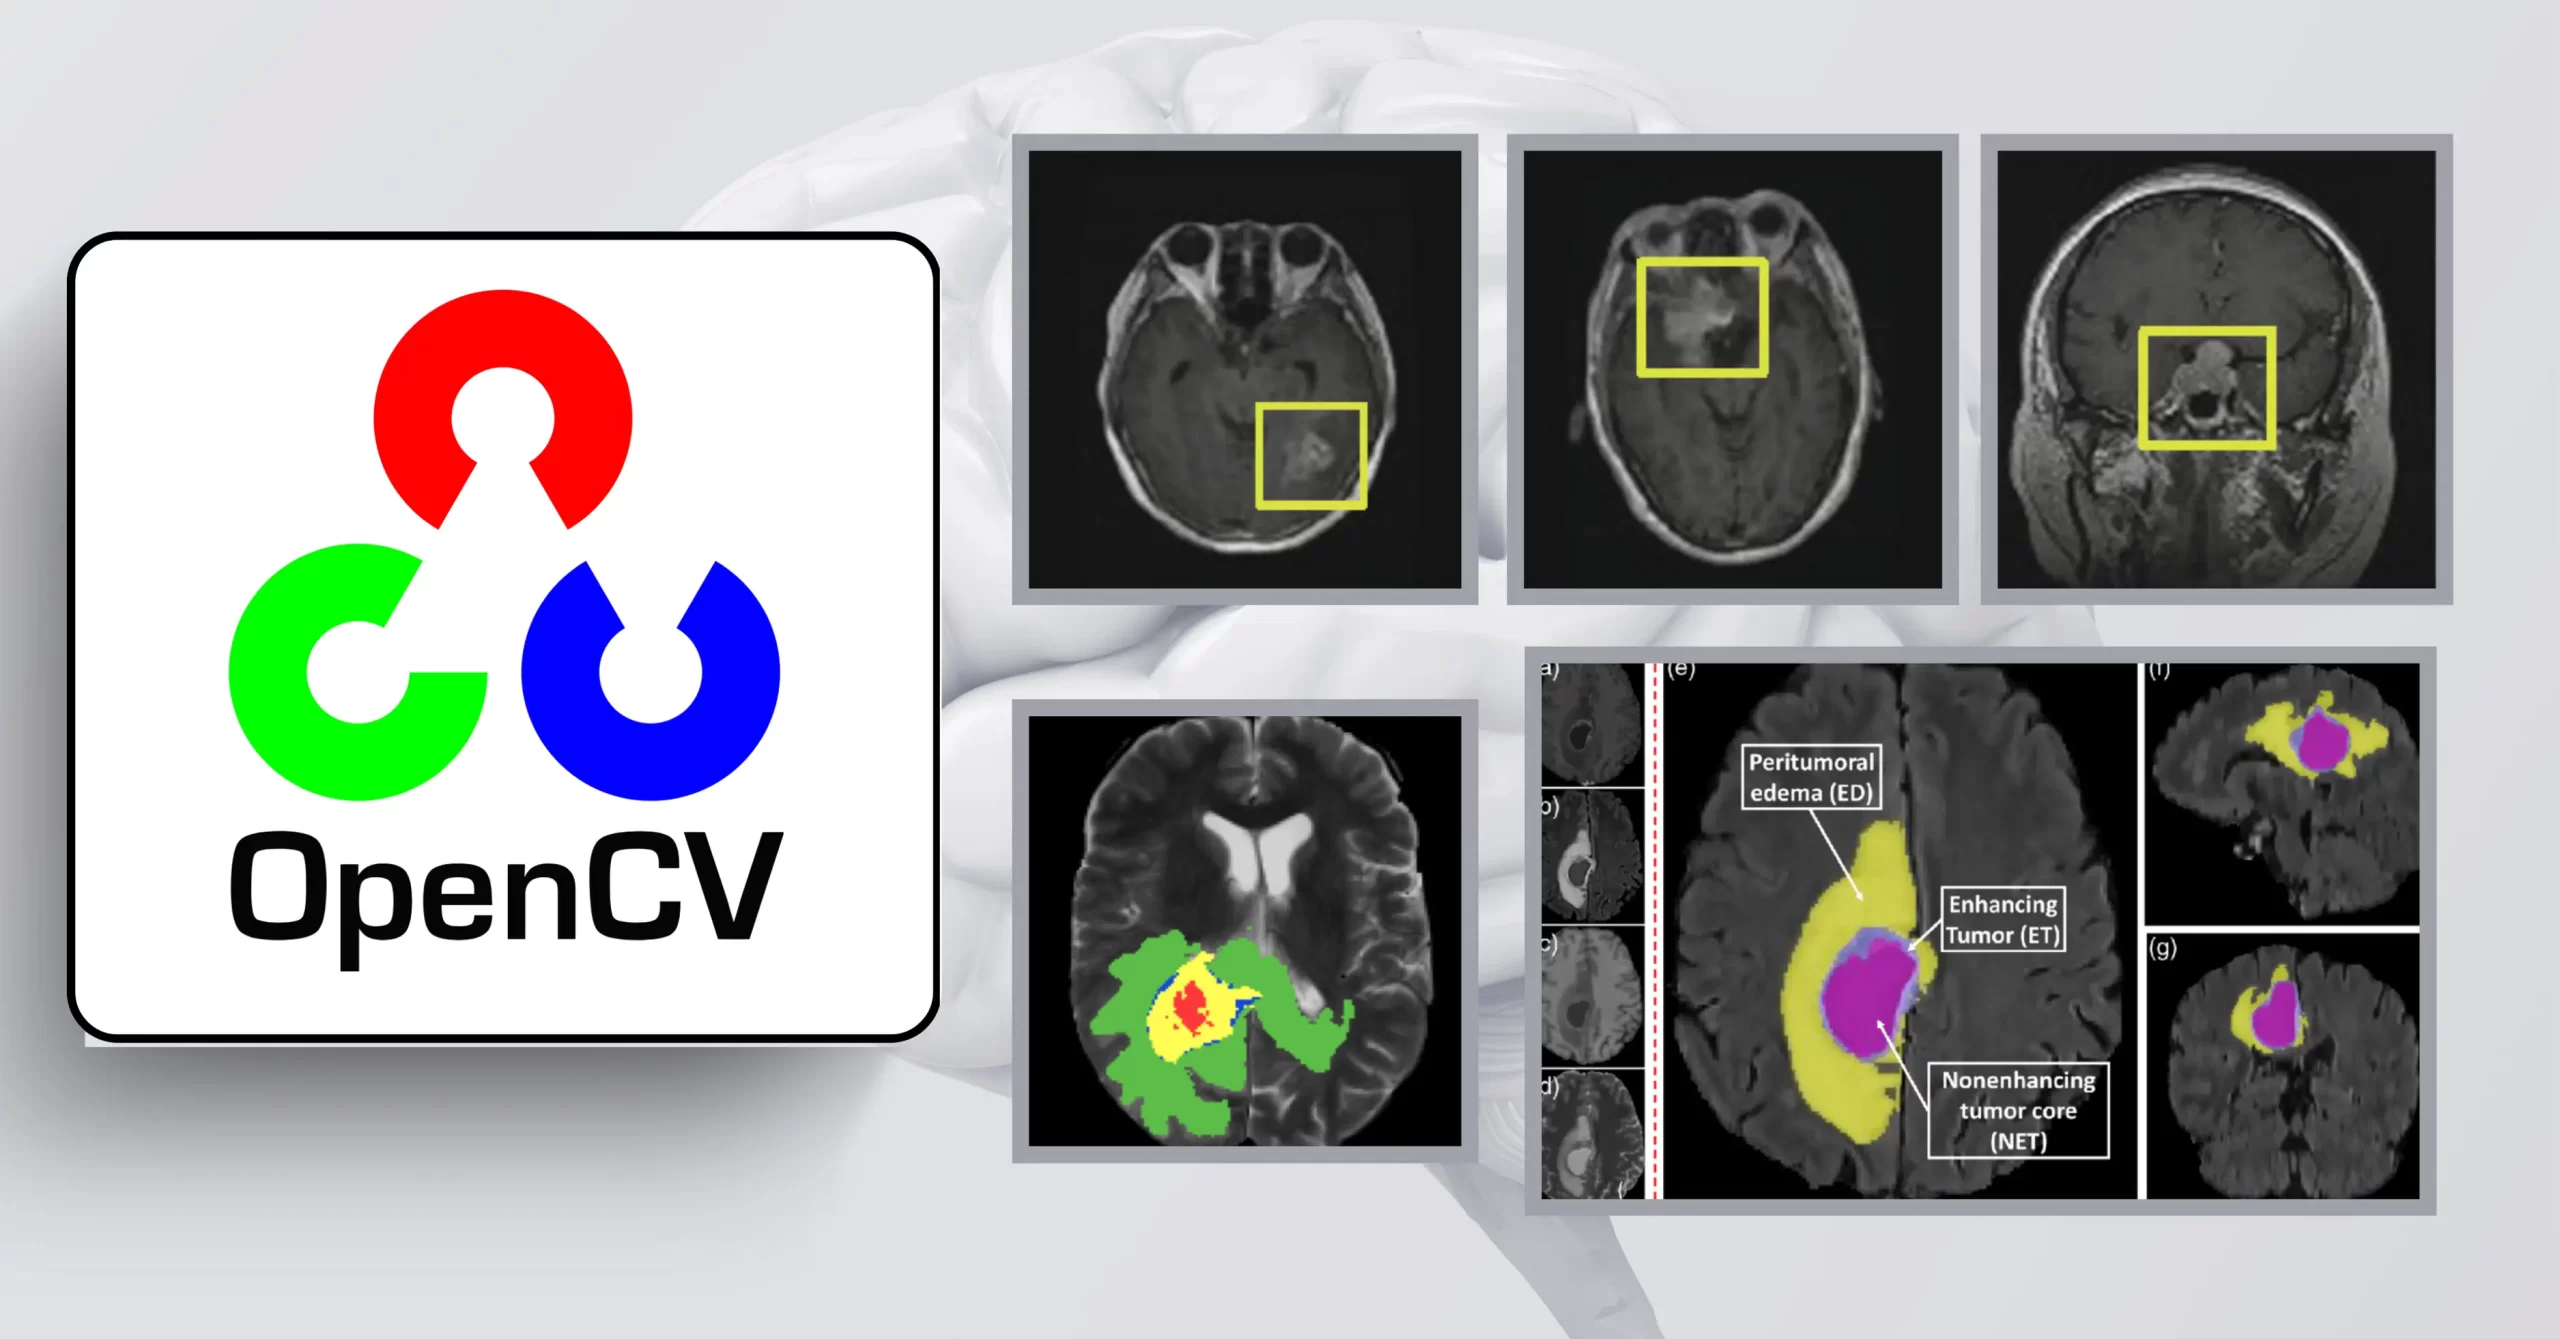
- Real-world example: Mayo Clinic’s implementation of OpenCV for analyzing brain scans
Patient Monitoring
- Fall detection systems
- Movement analysis for physical therapy
- Remote patient monitoring
Medical Research
- Cell counting and analysis
- Tissue sample classification
- Drug development visualization
Case Study: Brain Tumor Detection System
OpenCV and Computer Vision: Real-World Applications and Implementation Guide
| def tumor_detection(mri_image):
# Load and preprocess MRI imageimg = cv2.imread(mri_image) gray = cv2.cvtColor(img, cv2.COLOR_BGR2GRAY) # Apply advanced threshold segmentation ret, thresh = cv2.threshold(gray, 0, 255, cv2.THRESH_BINARY + cv2.THRESH_OTSU) # Contour detection contours, hierarchy = cv2.findContours(thresh, cv2.RETR_TREE, cv2.CHAIN_APPROX_SIMPLE) # Analyze contours for tumor detection for cnt in contours: area = cv2.contourArea(cnt) if area > 500: # Minimum area threshold x, y, w, h = cv2.boundingRect(cnt) cv2.rectangle(img, (x, y), (x+w, y+h), (0, 255, 0), 2) return img |
Brain tumor detection systems are advancing rapidly due to the convergence of imaging techniques, machine learning, and AI. Traditional tumor detection relies on manual examination of MRI scans by radiologists, but this can be time-consuming and subjective. To address these limitations, researchers have been developing AI-powered detection methods that automatically identify and analyze brain tumors in MRI images.
2. Manufacturing and Quality Control
Assembly Line Inspection
- Defect detection
- Component verification
- Dimensional analysis
Detailed Implementation: Defect Detection System
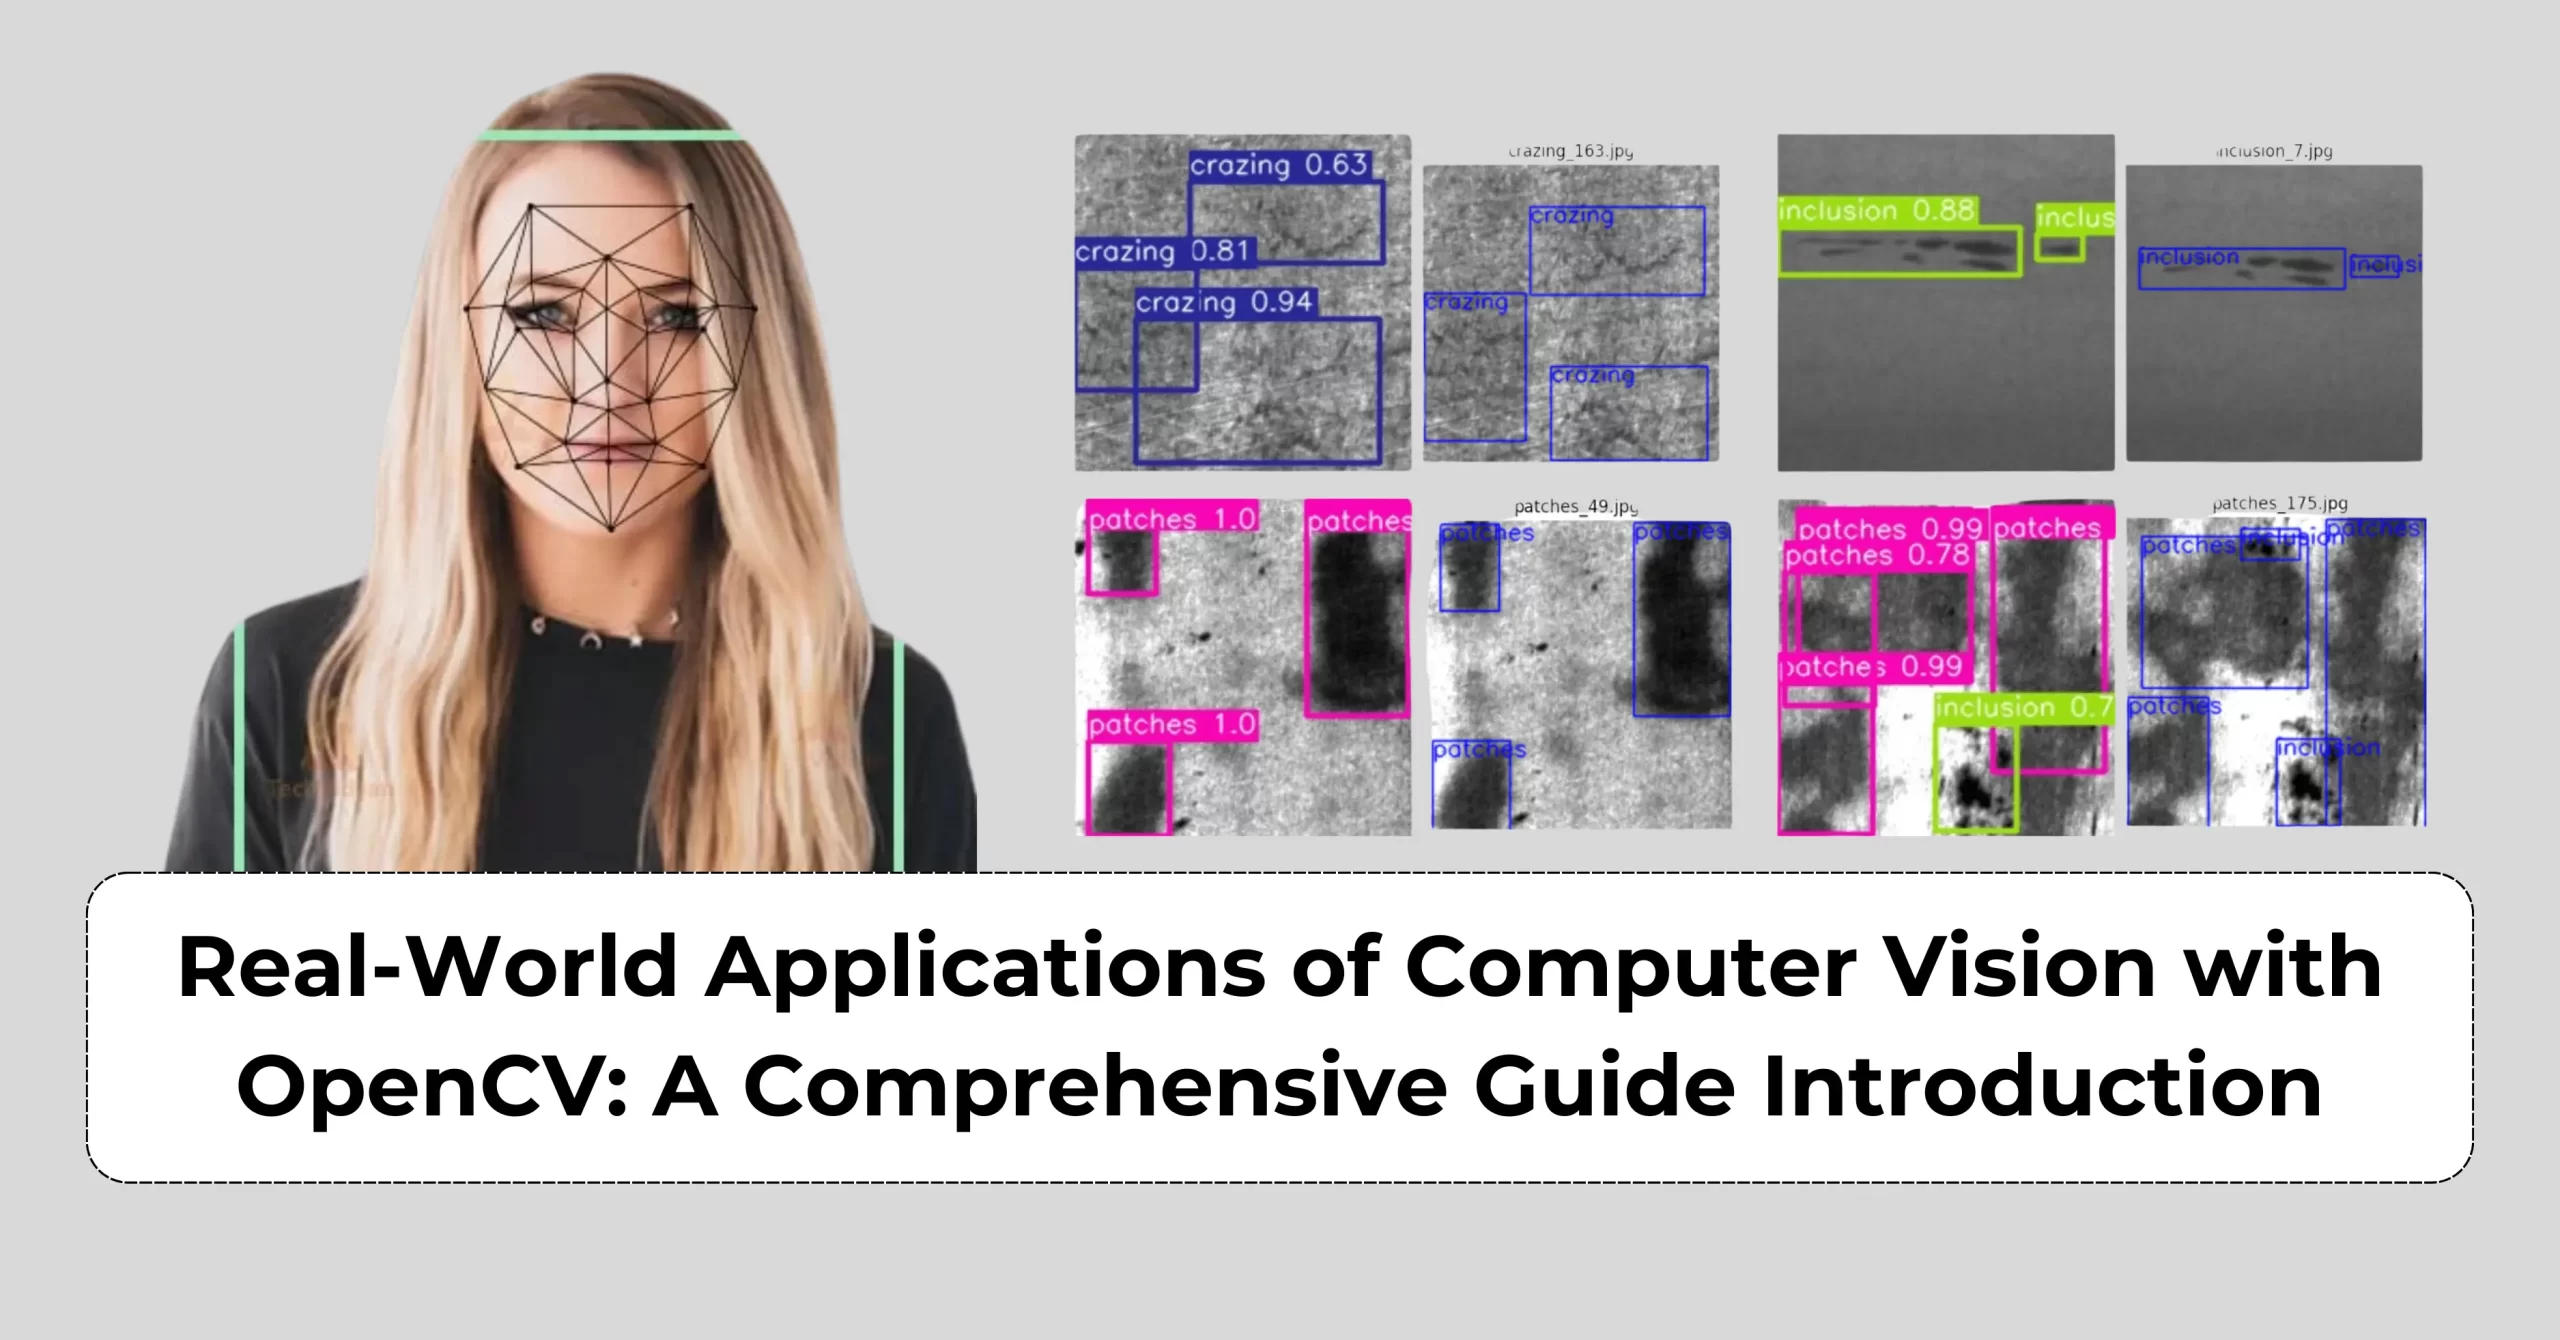
In the manufacturing sector, the importance of detecting defects in products cannot be overstated. Implementing code that utilizes computer vision (CV) for defect detection is a game-changer for quality assurance. This code employs advanced image processing techniques like grayscale conversion, thresholding, and contour detection to identify potential defects effectively. By analyzing each contour for inconsistencies, the code focuses on small areas that may indicate manufacturing flaws, ensuring that these issues are detected early in the production process.
This proactive approach not only minimizes waste but also significantly enhances operational efficiency, allowing manufacturers to uphold stringent quality standards. By ensuring that only defect-free products reach consumers, businesses can protect their brand reputation and foster trust among customers. In today’s competitive market, leveraging computer vision for defect detection is essential for maintaining high product quality and customer satisfaction, ultimately driving growth and success in the manufacturing industry.
| def detect_manufacturing_defects(image_path):
# Load image img = cv2.imread(image_path) # Convert to grayscale gray = cv2.cvtColor(img, cv2.COLOR_BGR2GRAY) # Apply threshold _, binary = cv2.threshold(gray, 127, 255, cv2.THRESH_BINARY) # Find contours contours, _ = cv2.findContours(binary, cv2.RETR_EXTERNAL, cv2.CHAIN_APPROX_SIMPLE) # Analyze each contour for defects defects = [] for contour in contours: area = cv2.contourArea(contour) if area < 100: # Small areas might indicate defects defects.append(contour) return defects |

3. Advanced Implementation Examples
- Real-time Face Detection and Recognition
The implementation of face recognition technology through this code plays a pivotal role in enhancing security and user interaction in various applications. By utilizing a trained Haar cascade classifier for face detection and the Local Binary Patterns Histograms (LBPH) method for face recognition, this code effectively identifies and recognizes faces in real time.
When a frame is captured, the code converts it to grayscale, which is a common practice in image processing that simplifies the analysis. It then detects faces within the frame, creating regions of interest (ROIs) that are further processed to identify individuals. By drawing rectangles around recognized faces, the system provides immediate visual feedback, making it suitable for security systems, access control, and even personalized user experiences.
Incorporating face recognition technology not only improves security protocols but also fosters seamless interaction between users and devices. As this technology becomes increasingly prevalent in today’s digital landscape, its applications in areas such as surveillance, retail, and social media are rapidly expanding, demonstrating the transformative power of computer vision in enhancing our everyday lives.
| def implement_face_recognition():
# Initialize face detection face_cascade = cv2.CascadeClassifier(‘haarcascade_frontalface_default.xml’) # Initialize face recognition recognizer = cv2.face.LBPHFaceRecognizer_create() def detect_and_recognize(frame): gray = cv2.cvtColor(frame, cv2.COLOR_BGR2GRAY) faces = face_cascade.detectMultiScale(gray, 1.3, 5)
for (x,y,w,h) in faces: roi_gray = gray[y:y+h, x:x+w] id_, conf = recognizer.predict(roi_gray) cv2.rectangle(frame, (x,y), (x+w,y+h), (255,0,0), 2)
return frame return detect_and_recognize |
- Advanced Object Tracking

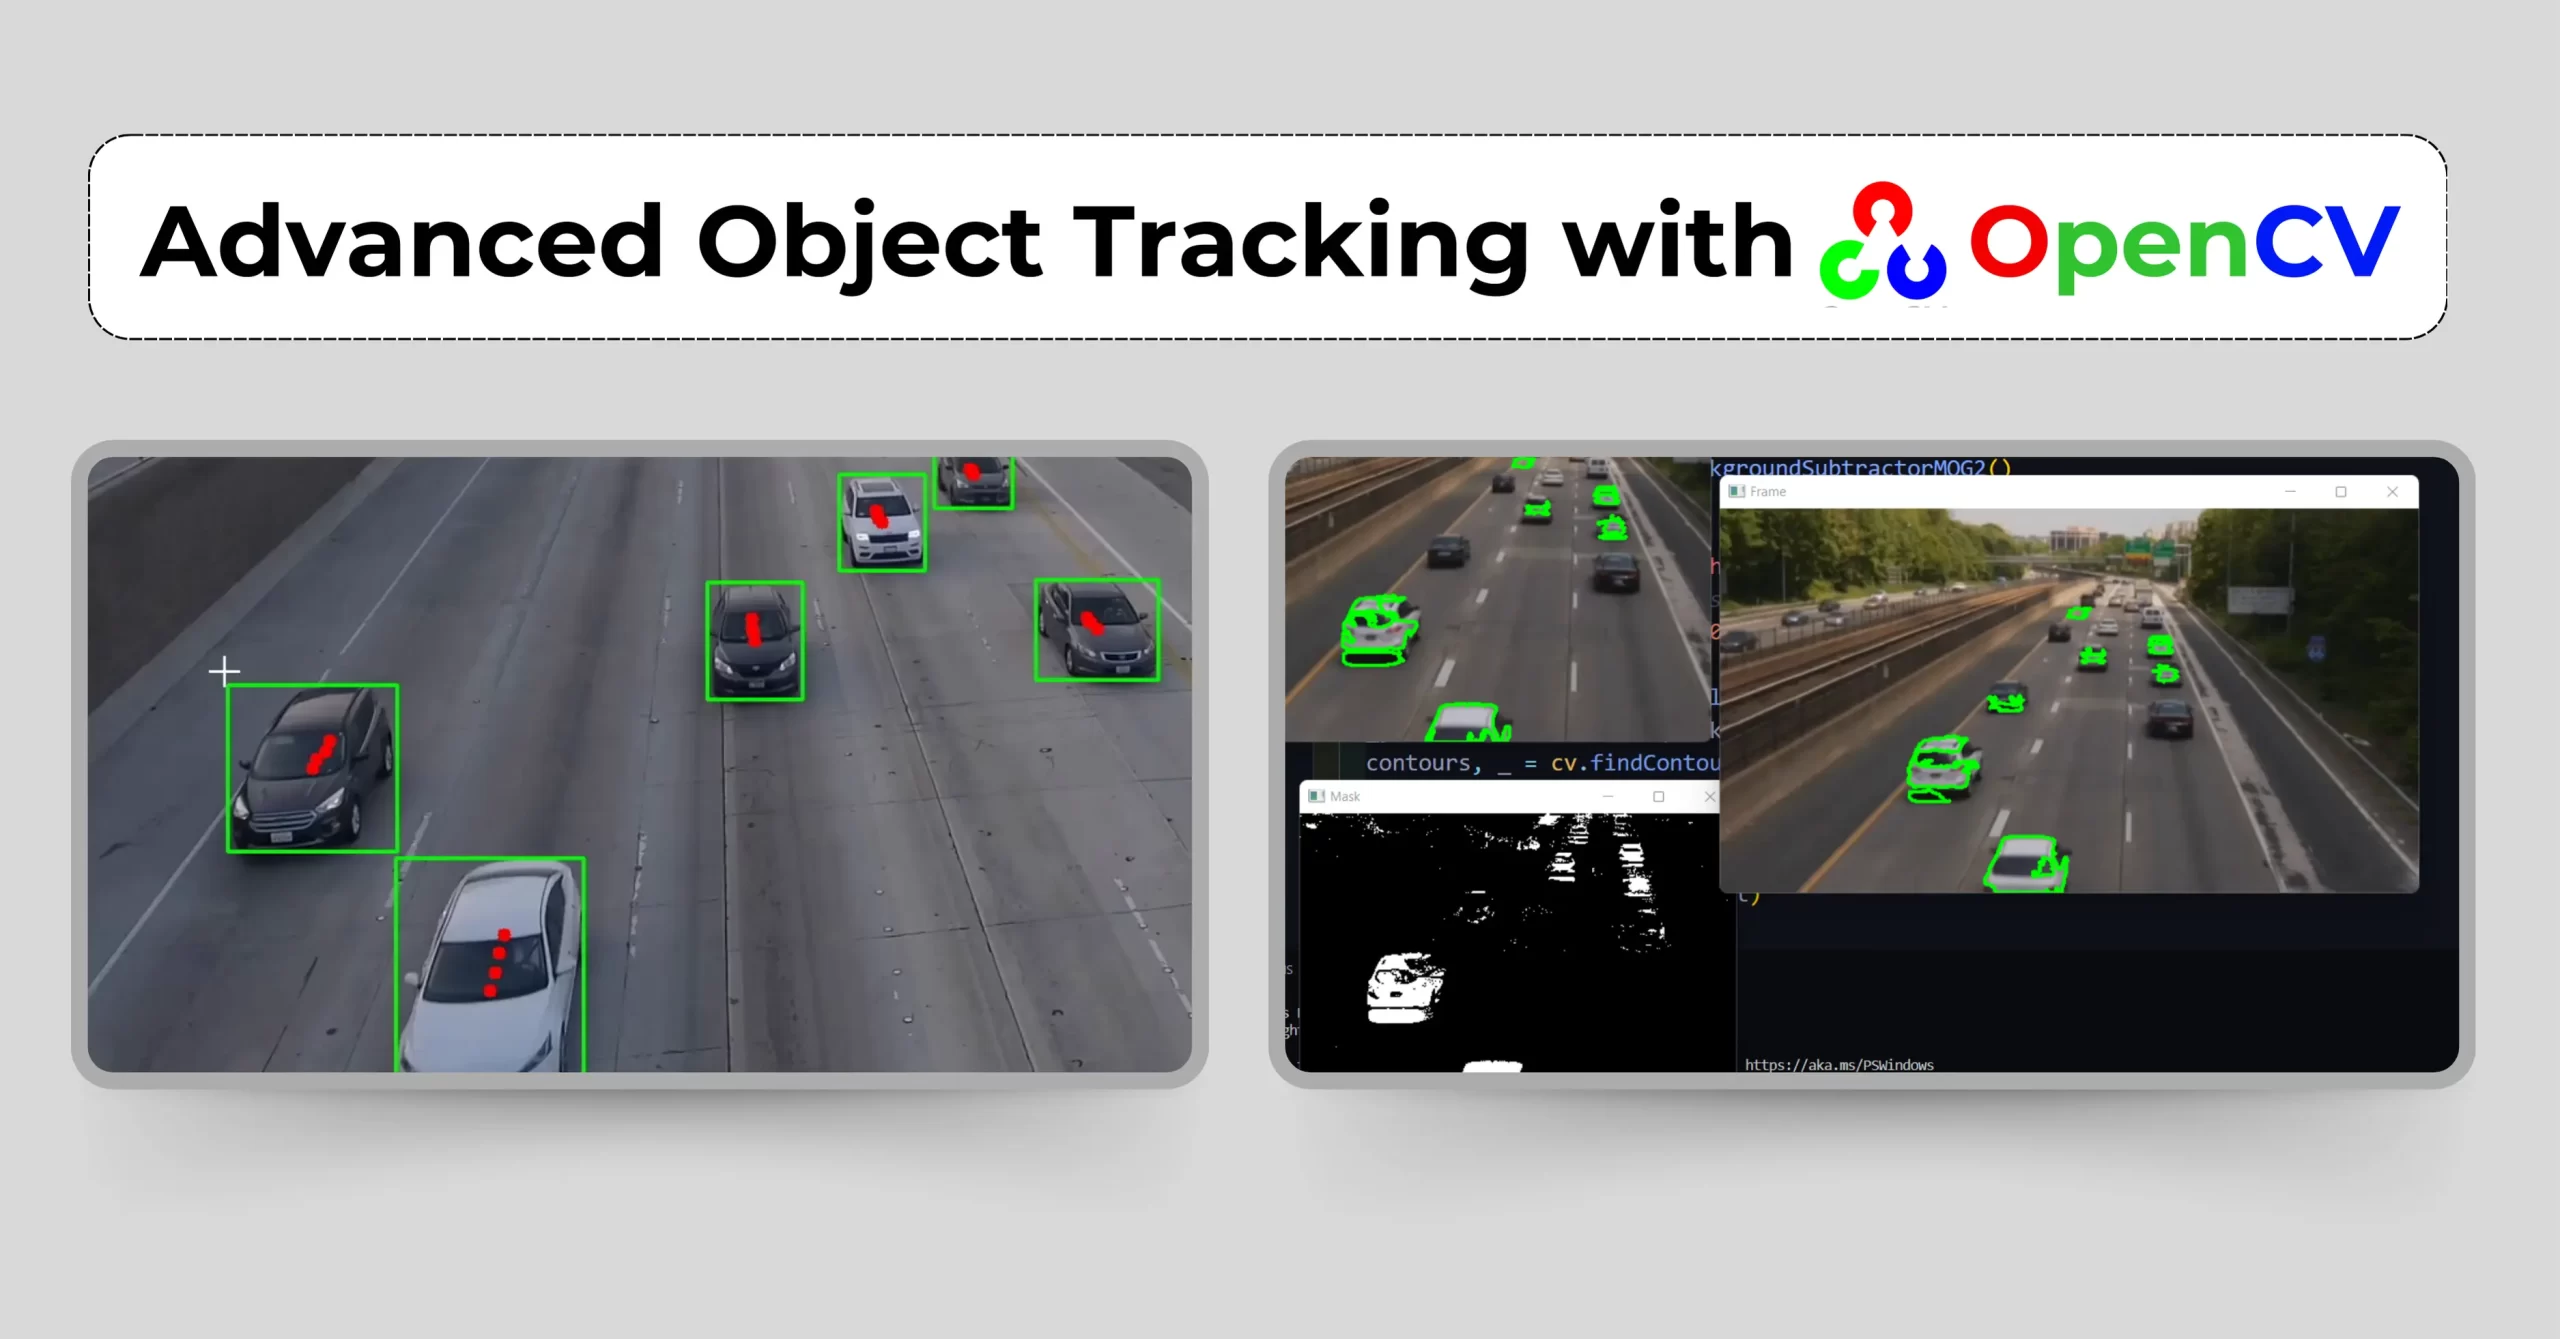
This code below exemplifies the power of object tracking in computer vision, enabling the real-time monitoring of moving objects within video feeds. By employing the CSRT (Discriminative Correlation Filter with Channel and Spatial Reliability) tracker, it effectively updates the position of a designated object, marked by a bounding box, as it navigates through each frame. When the tracking is successful, the system visually highlights the object’s location with a green rectangle, providing immediate and intuitive feedback. This functionality is essential for a variety of applications, including surveillance systems, autonomous vehicles, and sports analytics, where accurate object tracking is critical. By harnessing advanced tracking technology, organizations can enhance operational efficiency and deliver improved user experiences, demonstrating the significant role that computer vision plays in modern life.
| def implement_object_tracking():
# Initialize tracker tracker = cv2.TrackerCSRT_create() def track_object(frame, bbox): success, bbox = tracker.update(frame)
if success: x, y, w, h = [int(v) for v in bbox] cv2.rectangle(frame, (x,y), (x+w,y+h), (0,255,0), 2) return True, frame else: return False, frame return track_object |
4. Additional Case Studies
Case Study 1: Retail Analytics Implementation
The RetailAnalytics class is a powerful tool for analyzing foot traffic in retail environments, providing valuable insights into customer behavior and store performance. By leveraging computer vision techniques, this code utilizes a pre-trained Haar cascade classifier specifically designed to detect full-body figures, enabling accurate counting of individuals captured in video footage. As the video is processed frame by frame, the system converts each frame to grayscale and detects the number of people present, compiling this data into a traffic data list. This information can be instrumental for retailers looking to optimize staffing, enhance customer experience, and make data-driven decisions regarding store layouts and promotions. By implementing such advanced analytics, businesses can gain a competitive edge, improving their operational strategies and ultimately driving sales growth.
| class RetailAnalytics:
def __init__(self): self.people_cascade = cv2.CascadeClassifier(‘haarcascade_fullbody.xml’) def analyze_foot_traffic(self, video_path): cap = cv2.VideoCapture(video_path) traffic_data = []
while cap.isOpened(): ret, frame = cap.read() if not ret: break
gray = cv2.cvtColor(frame, cv2.COLOR_BGR2GRAY) people = self.people_cascade.detectMultiScale(gray, 1.1, 3) traffic_data.append(len(people))
cap.release() return traffic_data |
Part 4: Extended Developer Interviews
Interview 4: Dr. Michael Zhang, AI Research Lead at Google
Background: Ph.D. in Computer Vision, 12 years in AI research Key Insights:
- “The integration of deep learning with traditional computer vision techniques is crucial”
- “Edge computing is revolutionizing real-time computer vision applications”
- “The future lies in unsupervised learning for computer vision tasks”
Interview 5: Emma Thompson, Computer Vision Consultant
Background: 8 years specializing in industrial applications Technical Insights:
The optimize_image_processing function exemplifies the innovative use of GPU acceleration to enhance image processing tasks, significantly improving performance and efficiency. By first checking for available CUDA-enabled devices, this code optimally utilizes the power of the GPU for processing when possible. If a compatible GPU is detected, the image is uploaded to the GPU’s memory, where computationally intensive operations, such as applying a filter, are executed using cv2.cuda.filter2D. This approach allows for faster processing times, particularly beneficial for handling large images or real-time video streams. In scenarios where no GPU is available, the function gracefully falls back to using the traditional CPU-based cv2.filter2D. By incorporating GPU acceleration into image processing workflows, developers can achieve quicker results and enhance the overall user experience, making this function particularly valuable in fields like computer vision, video editing, and real-time analytics.
| # Code example shared during interview
def optimize_image_processing(image): # Use GPU acceleration when available if cv2.cuda.getCudaEnabledDeviceCount() > 0: gpu_mat = cv2.cuda_GpuMat() gpu_mat.upload(image)
# Process on GPU gpu_result = cv2.cuda.filter2D(gpu_mat, -1, kernel) result = gpu_result.download() else: result = cv2.filter2D(image, -1, kernel) return result |
Part 5: Performance Optimization Guidelines
- Memory Management
The optimize_memory_usage function is a smart approach to handling large datasets by utilizing Python generators, which allows for efficient memory management during image processing tasks. The nested process_images generator function iterates over a list of image paths, reading and processing each image one at a time. Instead of loading all images into memory at once, this approach yields processed images on-the-fly, significantly reducing memory consumption, especially when dealing with extensive datasets.
The process_single_image function focuses on optimizing matrix operations by employing in-place modifications. By using the dst parameter in the cv2.GaussianBlur function, it applies the Gaussian blur directly to the original image matrix, avoiding the need for additional memory allocation for intermediate results. This technique enhances performance and minimizes the overall memory footprint of the application.
By combining generators with efficient in-place operations, this code is particularly beneficial for image processing workflows that require scalability and optimal resource management. Whether in batch processing or real-time applications, these strategies empower developers to handle larger datasets without sacrificing performance or system stability.
| def optimize_memory_usage():
# Use generators for large datasets def process_images(image_paths): for path in image_paths: img = cv2.imread(path) yield process_single_image(img)
# Efficient matrix operations def process_single_image(img): # Use in-place operations where possible cv2.GaussianBlur(img, (5,5), 0, dst=img) return img |
- Processing Speed Optimization
The optimize_processing_speed function is designed to enhance the efficiency of image processing tasks by focusing on appropriate data types and leveraging optimized algorithms. By converting the input image to an unsigned 8-bit integer format with image.astype(np.uint8), the function ensures that the data type is well-suited for subsequent OpenCV operations, which can lead to improved performance.
Additionally, the function optimizes thresholding operations by combining simple thresholding with Otsu’s method using cv2.threshold. This dual approach not only streamlines the thresholding process but also adapts automatically to the image histogram, enhancing the binary output quality without requiring extensive manual tuning.
Furthermore, the code employs the FAST (Features from Accelerated Segment Test) feature detector, a well-known optimized algorithm for identifying keypoints in images quickly and efficiently. By using this method, the function minimizes computational overhead while maximizing the speed of feature extraction.
Overall, this code is particularly valuable for applications where processing speed is critical, such as real-time computer vision tasks, video analysis, and interactive applications. By integrating data type optimization and fast algorithms, developers can ensure smooth performance, even when working with high-resolution images or extensive datasets.
| def optimize_processing_speed(image):
# Use appropriate data types image = image.astype(np.uint8) # Optimize threshold operations _, binary = cv2.threshold(image, 127, 255, cv2.THRESH_BINARY | cv2.THRESH_OTSU) # Use optimized algorithms fast_features = cv2.FastFeatureDetector_create() keypoints = fast_features.detect(image, None) return binary, keypoints |
Part 6: Future Trends Deep Dive
1. AI Integration
- Deep Learning Models
The implement_deep_learning function showcases the power of deep learning in computer vision by utilizing a pre-trained model for object detection tasks. By loading a TensorFlow model with cv2.dnn.readNetFromTensorflow, this code enables sophisticated analysis of video frames, facilitating real-time object recognition and classification.
Within the nested process_frame function, the code prepares the input frame for deep learning inference. It first converts the image into a blob using cv2.dnn.blobFromImage, which standardizes the image dimensions and scales the pixel values, making it compatible with the model’s expected input format. The parameters used in this function (such as the size (300, 300) and the mean subtraction values [104, 117, 123]) are commonly used for models trained on datasets like the Caffe framework.
After preparing the blob, the function sets it as the input to the neural network and invokes the forward pass with net.forward(), which performs the inference and generates detection results. This approach allows developers to leverage deep learning models for applications such as surveillance, autonomous vehicles, and interactive media, where accurate and efficient object detection is essential.
By implementing such advanced deep learning techniques, businesses can improve their capabilities in automating tasks, enhancing user experiences, and extracting meaningful insights from visual data, highlighting the transformative role of AI in various industries.
| def implement_deep_learning():
# Load pre-trained model net = cv2.dnn.readNetFromTensorflow(‘frozen_inference_graph.pb’) def process_frame(frame): blob = cv2.dnn.blobFromImage(frame, 1.0, (300, 300), [104, 117, 123]) net.setInput(blob) detections = net.forward() return detections |
2. Edge Computing Implementation
The EdgeProcessor class is an innovative solution for performing efficient edge processing using deep learning techniques in computer vision applications. By leveraging a pre-trained Caffe model, the class enables real-time analysis and processing of visual data directly at the edge, which is crucial for applications requiring immediate response times and minimal latency, such as robotics, IoT devices, and mobile applications.
In the constructor, __init__, the class initializes the deep learning model by loading the necessary architecture and weights through cv2.dnn.readNetFromCaffe, which ensures that the model is ready for inference. This setup is essential for deploying sophisticated neural networks in environments with limited computing resources.
The process_on_edge method optimizes the frame for processing by resizing it to a standard size of (300, 300) pixels, which is a common requirement for many models. This resizing helps maintain consistency across input images, improving the model’s performance. Following this, the function converts the resized frame into a blob using cv2.dnn.blobFromImage, which includes scaling and mean subtraction to prepare the data for the network. The model then processes the blob with self.model.forward(), producing output that typically includes detected objects, their locations, and confidence scores.
By integrating deep learning with edge computing, the EdgeProcessor class enhances the capability to analyze and interpret visual information in real-time, paving the way for smarter applications that can operate independently of centralized computing resources. This capability not only improves efficiency but also opens up new possibilities for innovation across various industries, including smart cities, security, and augmented reality.
| class EdgeProcessor:
def __init__(self): self.model = cv2.dnn.readNetFromCaffe(‘deploy.prototxt’, ‘model.caffemodel’)
def process_on_edge(self, frame): # Optimize for edge processing resized = cv2.resize(frame, (300, 300)) blob = cv2.dnn.blobFromImage(resized, 1.0, (300, 300), (104.0, 177.0, 123.0)) self.model.setInput(blob) output = self.model.forward() return output |
Conclusion
Computer vision with OpenCV, a powerful toolkit makes complex visual solutions accessible, bridging the gap between technology and practical needs.
This expanded guide provides a comprehensive overview of OpenCV applications, implementations, and future directions. The included code examples, case studies, and expert insights offer practical guidance for developers working with computer vision technologies.
By mastering OpenCV and understanding its real-world applications, developers and data scientists can contribute to innovations that improve the way we live and work.
Additional Resources
- Official OpenCV Documentation
- Research Papers Database
- Community Forums and Discussion Groups
- Online Training Materials
- Industry Implementation Guidelines
Appendix: Troubleshooting Guide
- Common Issues and Solutions
- Performance Optimization Tips
- Best Practices for Production Deployment
- Testing and Validation Procedures

